Making Miniature Green Bean Casserole: What Worked and What I’d Try Next
Part 4 of our Miniature Thanksgiving Dinner Series
Green bean casserole is one of those traditional Thanksgiving dishes that just seems to belong on the holiday table. With its creamy mushroom sauce, tender green beans, and crunchy fried onion topping, it’s also an interesting challenge to recreate in miniature. When I made my dollhouse Thanksgiving dinner, I wanted a little casserole dish filled with green bean casserole to go alongside the turkey, dressing, and mashed potatoes. I decided to make the entire dish using polymer clay, experimenting with colors and textures to create something that looked like the real thing.
Did it turn out exactly as I’d hoped? Not quite! But it was a good starting point, and looking back at the project, I have several ideas for making it even more realistic.
Making My Miniature Green Bean Casserole
For my original version, I used polymer clay for everything. I started by rolling out very thin logs of green clay to represent individual green beans. Once I had the diameter I wanted, I cut the logs into tiny pieces, much like the cut green beans you’d find in a real casserole.
Next, I mixed polymer clay to create the color of cream of mushroom soup. I wanted a soft, creamy shade that would resemble the sauce surrounding the green beans. I combined the little green bean pieces with this mixture and arranged everything in my miniature casserole dish. After it was baked, I added some sheen with FIMO Gloss Varnish.
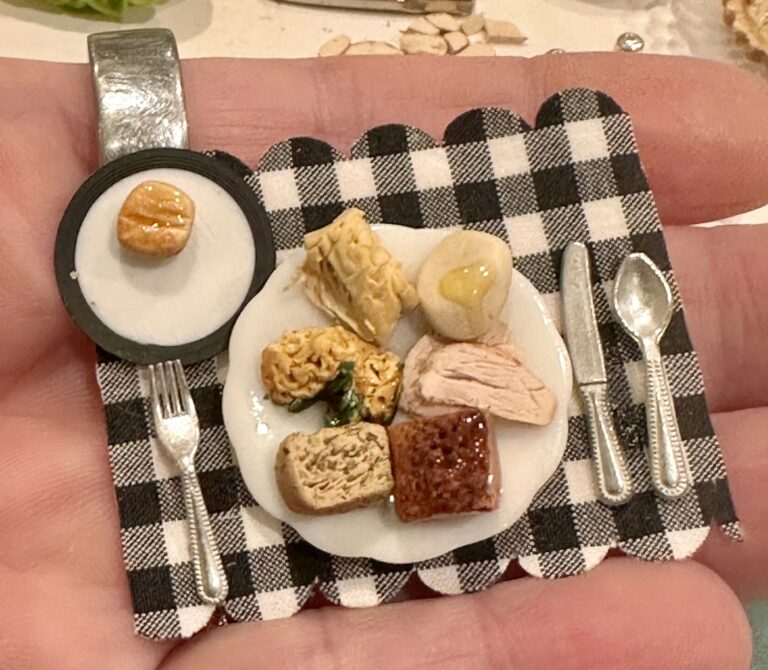
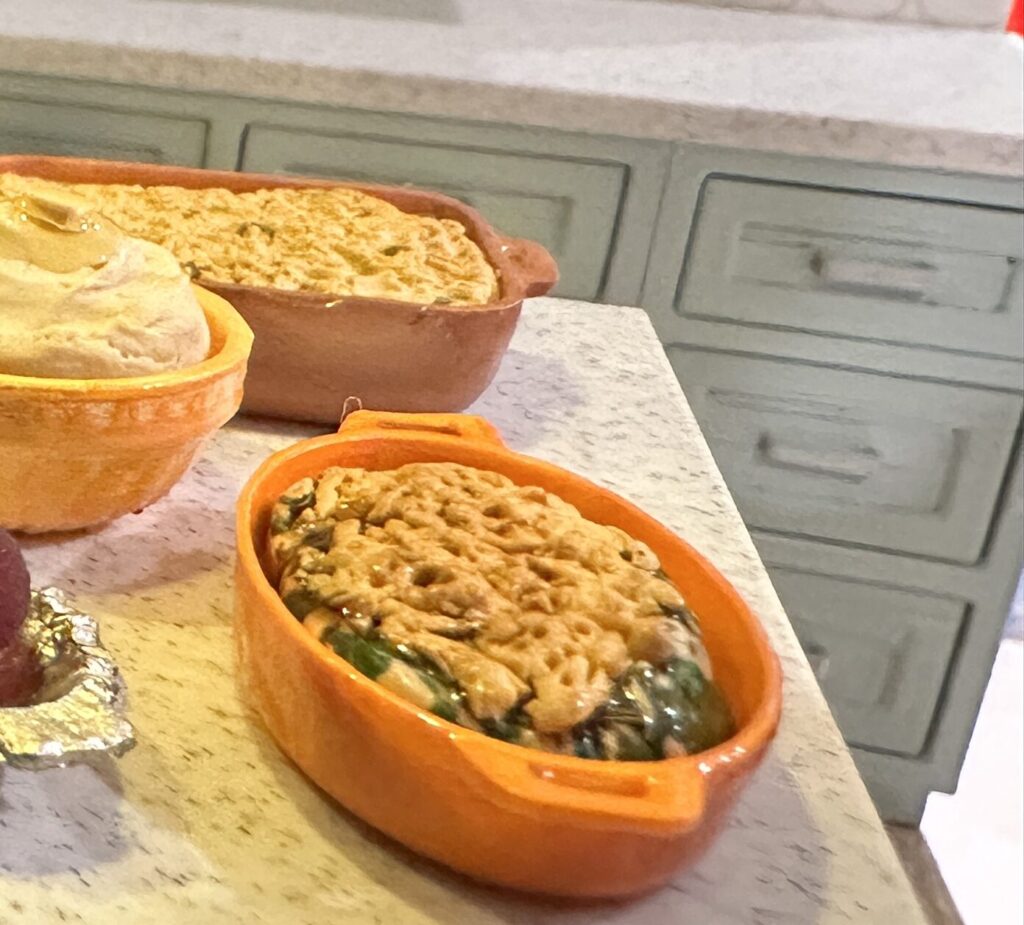
The idea was simple enough, and from a distance, the finished casserole looked pretty convincing sitting on my dollhouse Thanksgiving table.
But when I looked at the close-up photographs, I could see several things I would approach differently today.
And that’s where this project gets interesting!
What I’d Change: Start with the Green Beans
If I were making this casserole again, the first thing I’d change would be how I prepared the green beans.
Rather than mixing the raw green bean pieces directly into the creamy clay mixture, I’d make the beans first and partially bake them before assembling the casserole.
I’d try baking them for about 10 minutes initially, following the temperature recommendations for the particular polymer clay. The goal would be to firm them up enough that they maintain their individual shapes when mixed into the sauce. I’d then complete the curing process according to the clay manufacturer’s instructions.
This would be an experiment rather than a technique I’ve already tested, but I think it could make a noticeable difference.
Individual pieces of green beans would be easier to distinguish, helping the finished casserole look less like a solid mass of clay.
💡 GoAlongs Tip — Think About the Order of Assembly
When making miniature food with several textures, consider whether some components should be made or partially cured before everything is combined. Sometimes changing the order of assembly can help preserve the details you’ve worked so hard to create.
What I’d Change: A Creamier Mushroom Sauce
The second improvement I’d try is using a different material for the cream of mushroom soup mixture.
My original casserole used solid polymer clay for the sauce, but I think a mixture made primarily from translucent liquid polymer clay would create a more convincing creamy appearance.
I’d experiment with adding a very small amount of gray coloring to achieve that familiar cream of mushroom soup shade. The key would be keeping the mixture light and slightly translucent rather than creating an opaque, solid-looking filling.
I’d start with a small test batch, since different liquid clays and pigments can behave differently during curing.
Then I’d gently combine the green beans with the mixture, allowing some individual pieces to remain visible at the surface.
I think that simple change could make the casserole look much more like a creamy dish and less like a sculpted object.
What I’d Change: The Crunchy Onion Topping
Now, here’s where I think the biggest improvement could happen!
One of the most recognizable features of green bean casserole is that wonderful layer of crispy fried onions on top.
It’s also one of the hardest textures to reproduce convincingly at miniature scale.
If I were making this casserole again, I’d experiment with a completely different material for the topping. Something like Flower Soft, or another finely textured miniature landscaping material, might create the uneven, crunchy appearance of fried onions much better than smooth polymer clay.
I’d look for a material with irregular shapes and a fine texture that could resemble little pieces of crispy onion.
Color would be especially important. Real French-fried onions have a mixture of pale golden, toasted tan, and deeper brown shades. A topping that’s too yellow, too orange, or too uniformly colored wouldn’t look nearly as believable.
I’d experiment with small amounts of appropriately colored material until I found a combination that resembled the real thing.
And I’d definitely use reference photographs of actual green bean casserole!
💡 GoAlongs Tip — Look Beyond Traditional Craft Materials
Miniature food doesn’t always have to be made entirely from clay. Landscaping materials, flocking, and other craft supplies can create interesting textures that would be difficult to sculpt by hand. Just make sure the materials are compatible with your chosen adhesives and finishes.
For this particular project, I’d avoid using actual food products for the topping. Real crumbs, herbs, or dried onion pieces can deteriorate, attract pests, or change appearance over time. I’d rather use a stable craft material that will hold up in a miniature display since it would be on top of the miniature and not partially covered in the clay.
Could I Improve the Casserole I Already Made?
Absolutely! And that’s probably what makes this project worth sharing. I think my original casserole could look considerably more realistic with just a little additional texture on top. A carefully chosen crunchy-looking onion topping in the right shades of golden brown would help communicate exactly what the dish is supposed to represent.
Sometimes you don’t need to remake an entire miniature. You just need to identify the one detail that will make the biggest visual difference.
For green bean casserole, I think that detail is the topping.
Remember That Miniatures Are Meant to Be Viewed in Miniature!
Here’s something I’ve noticed when photographing my dollhouse foods: the camera can be a little unforgiving!
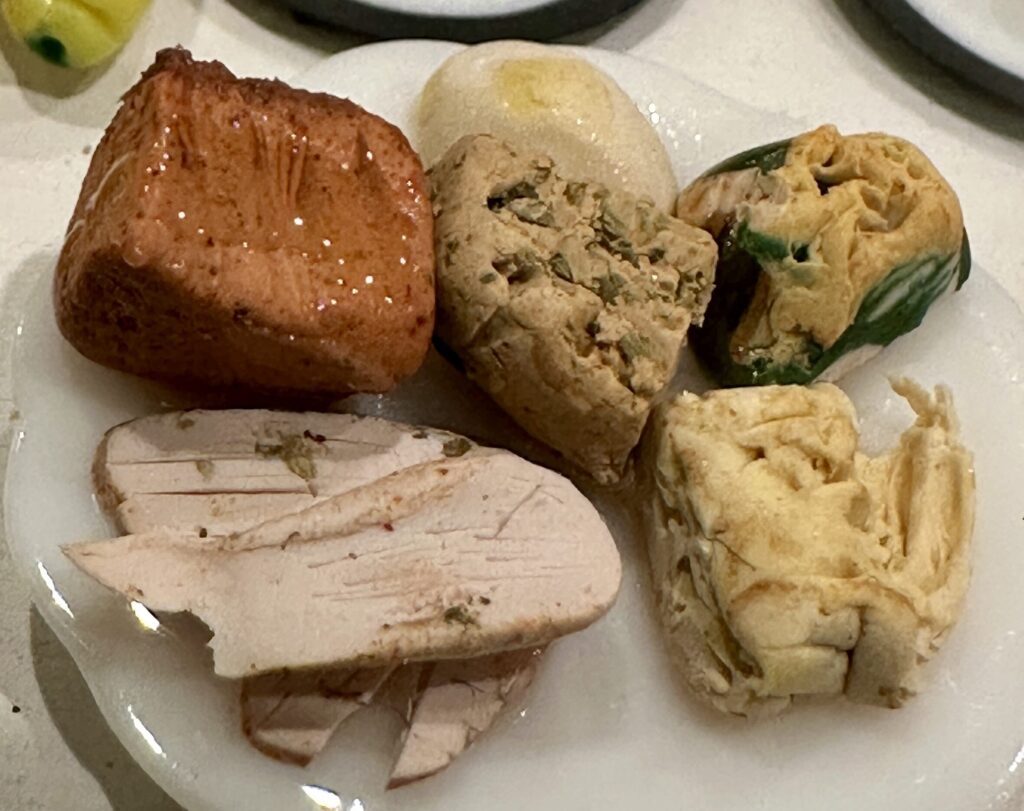
When you enlarge a miniature food photograph, every tiny imperfection suddenly becomes obvious. A surface that looks perfectly acceptable at normal viewing distance can look rough, uneven, or a little messy when it’s filling your entire computer screen.
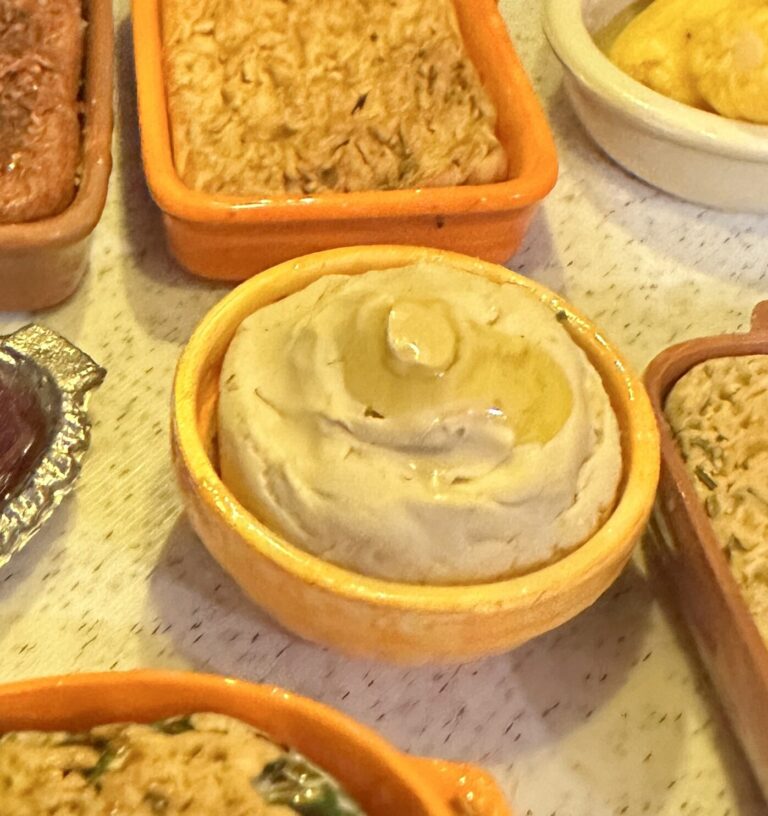
And I’ll admit that my green bean casserole looks a bit like a hot mess in some of those close-up photographs! LOL! It doesn’t spread out on the dish like a real green bean casserole does. It’s solid and blocky. It not very convincing when you see it super close up.
But sitting on the Thanksgiving table in my dollhouse, surrounded by all the other miniature foods, it reads much better.
That’s an important thing to remember when creating miniatures.
Sometimes the goal isn’t to make something that looks perfect when magnified ten times its actual size. It’s to make something that looks convincing in the setting where it will be displayed.
Of course, improving the details is part of the fun, too!
A Little Experimentation Goes a Long Way
Looking back at this project, I can see several ways I’d approach it differently today. I’d partially bake the green beans before assembling the dish, try a creamy translucent liquid clay mixture for the sauce, and experiment with textured craft materials for a more realistic fried onion topping.
None of those ideas require starting with expensive specialty tools or complicated techniques. They’re simply different approaches to solving the little challenges that come with making realistic miniature food.
And that’s one of my favorite things about this hobby. Every project gives you an opportunity to learn something, experiment with materials, and discover a technique you might use again.
My miniature green bean casserole may not be perfect, but it belongs on my Thanksgiving table. And with a few changes, I think the next version could be even better!
Building Our Miniature Thanksgiving Feast
Our miniature Thanksgiving dinner is coming together, one dish at a time! If you’re following the series, be sure to check out the earlier projects:
- How to Paint a Realistic Miniature Thanksgiving Turkey
- Making Realistic Miniature Turkey Slices from Polymer Clay
- Making Miniature Mashed Potatoes with Melting Butter
There are still more Thanksgiving favorites to make, including dressing and sweet potato casserole, before we bring everything together for our miniature holiday feast.
Happy mini-making!