Making Miniature Mashed Potatoes with Melting Butter
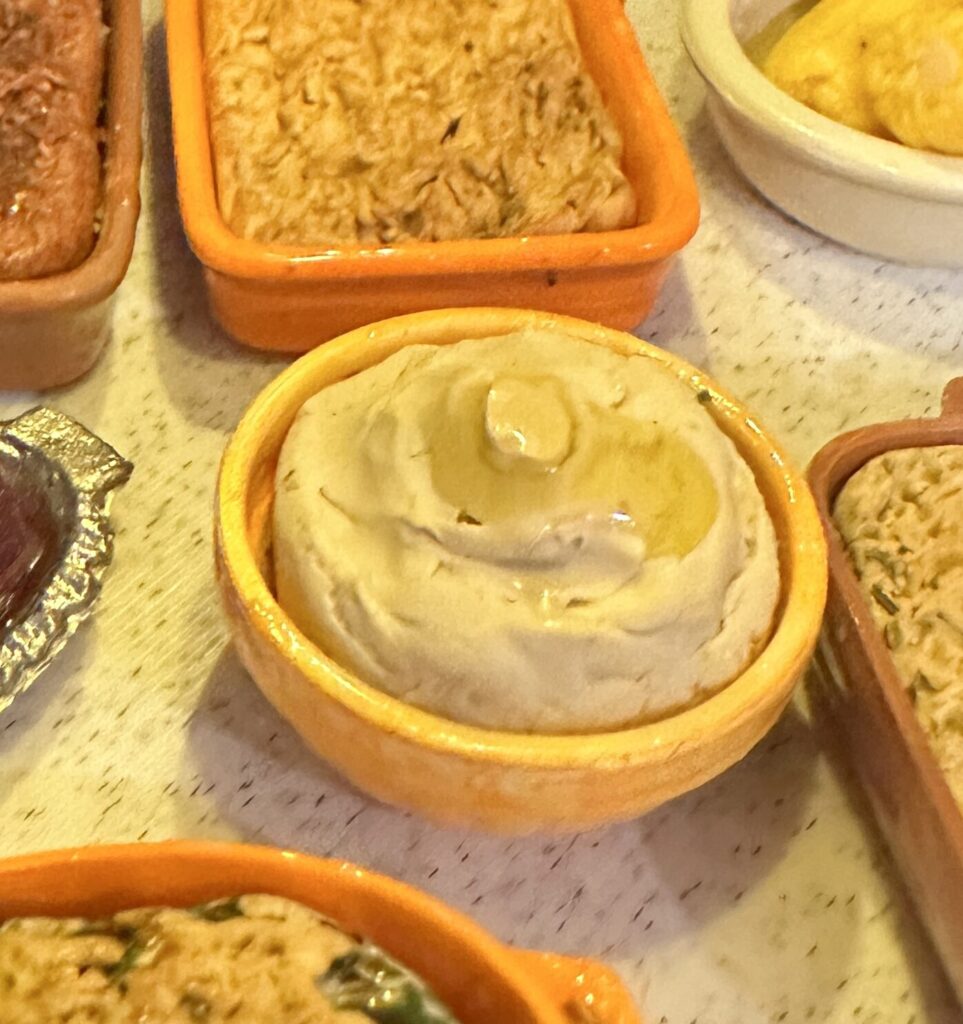
Part 3 of our Miniature Thanksgiving Dinner Series
What’s Thanksgiving dinner without a big bowl of mashed potatoes? As I continued making miniature foods for my Thanksgiving table, mashed potatoes were a natural addition. I wanted a serving bowl filled with creamy potatoes, along with a few individual servings to complete the place settings.
For this project, I used polymer clay to create the potatoes, added tiny pats of butter, and finished everything with a little transparent yellow UV resin to give the butter that freshly melted appearance.
The results were cute, although I learned a few things along the way that I’ll definitely change the next time I make them!
Supplies
- White or creamy off-white polymer clay
- Pale yellow polymer clay for the butter
- Small miniature serving bowl
- Miniature plates for individual portions
- Clay sculpting tools or toothpicks
- Craft blade
- Transparent yellow UV resin
- UV curing lamp
- Basic polymer clay baking supplies
Step 1: Making the Mashed Potatoes
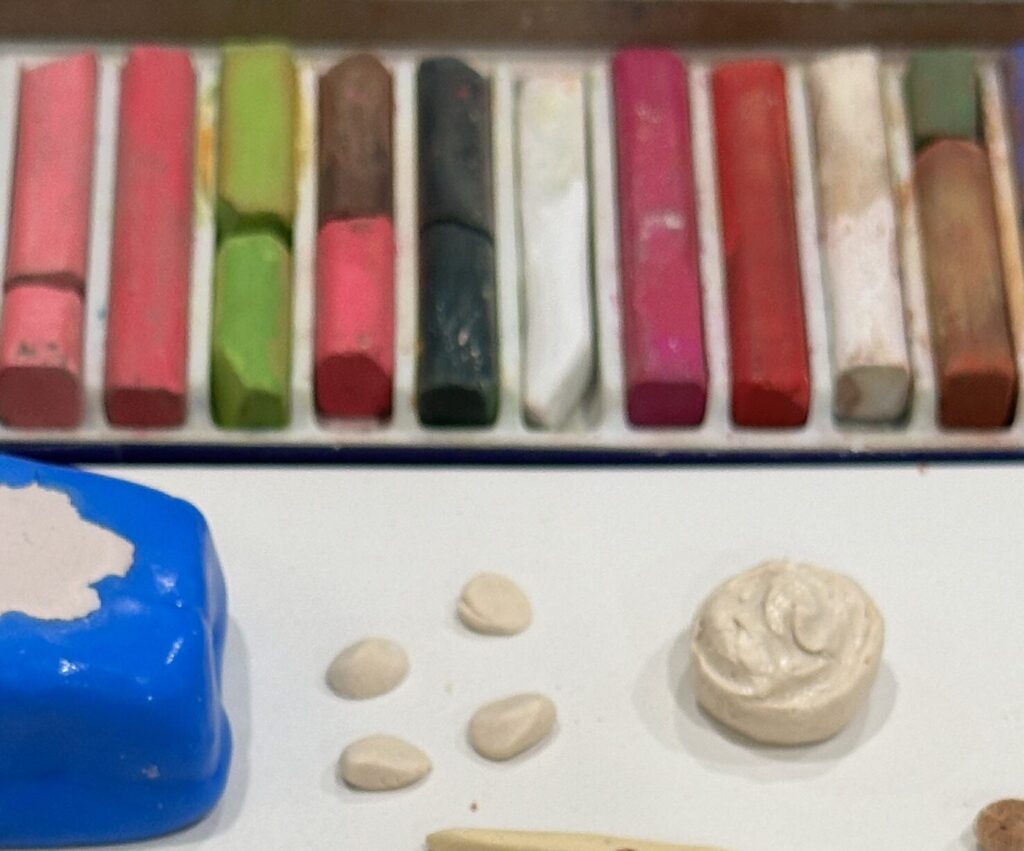
I started with creamy-colored polymer clay to represent the mashed potatoes.
The goal was to create the appearance of soft, fluffy potatoes piled into a serving bowl, with smaller portions for individual dinner plates.
I shaped the clay into mounds that would fit my miniature dishes, building up the potatoes to look like generous servings rather than smooth, flat surfaces.
One thing I discovered is that polymer clay can look a little too firm and solid for mashed potatoes. My finished potatoes turned out slightly harder-looking than I had envisioned.
But that’s part of experimenting with miniature materials!
Step 2: Adding Texture
Real mashed potatoes aren’t perfectly smooth. They have little peaks, swirls, and uneven areas where they’ve been scooped or stirred.
Adding surface texture helps give the miniature potatoes a more realistic appearance.
For my original version, I used polymer clay, but I think this is where a different material would make the biggest improvement.
My next experiment will be with air-dry clay, which I hope will allow me to create a softer, fluffier texture with more natural-looking peaks.
Step 3: Making Tiny Pats of Butter
Of course, no bowl of Thanksgiving mashed potatoes is complete without butter!
For the butter pats, I used polymer clay in an appropriate pale yellow color. I cut tiny slices to represent individual pieces of butter resting on top of the potatoes.
These little pieces add color and help the potatoes look more like a finished dish.
Step 4: Creating the Melted Butter Effect
This was one of my favorite details!
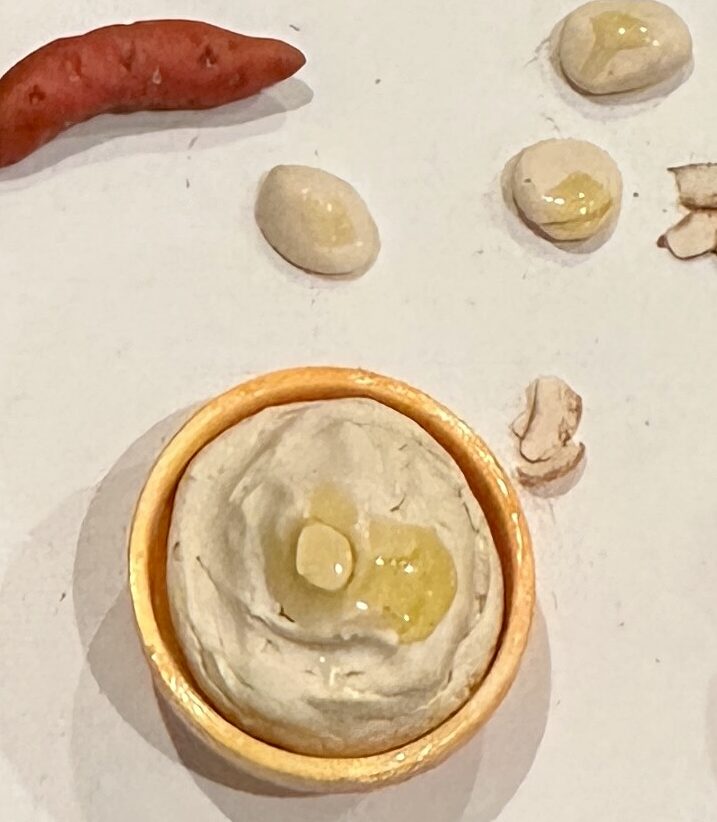
To give the appearance of butter melting into the warm potatoes, I used transparent yellow UV resin. A small amount of resin around the butter pats creates a glossy, golden effect that resembles melted butter collecting in the little valleys of the potatoes. The contrast between the matte clay and the shiny resin makes the butter stand out. Be careful not to add too much. A little goes a long way at miniature scale!
💡 GoAlongs Tip — Making your resin transparent yellow
You can make your own yellow resin by using a tiny (and I mean tiny! ) bit of yellow resin pigment dye. I dipped a toothpick point into the dye and mixed that into a small bit a clean resin. A little goes a long way! You want a very transparent golden yellow. If needed, look at reference photos to help mix the correct color.
Important: Bake the polymer clay according to the manufacturer’s instructions and allow it to cool completely before adding UV resin. Follow the resin manufacturer’s safety and curing instructions, use appropriate ventilation and skin protection, and fully cure the resin before handling the finished pieces.
Step 5: Setting the Miniature Thanksgiving Table
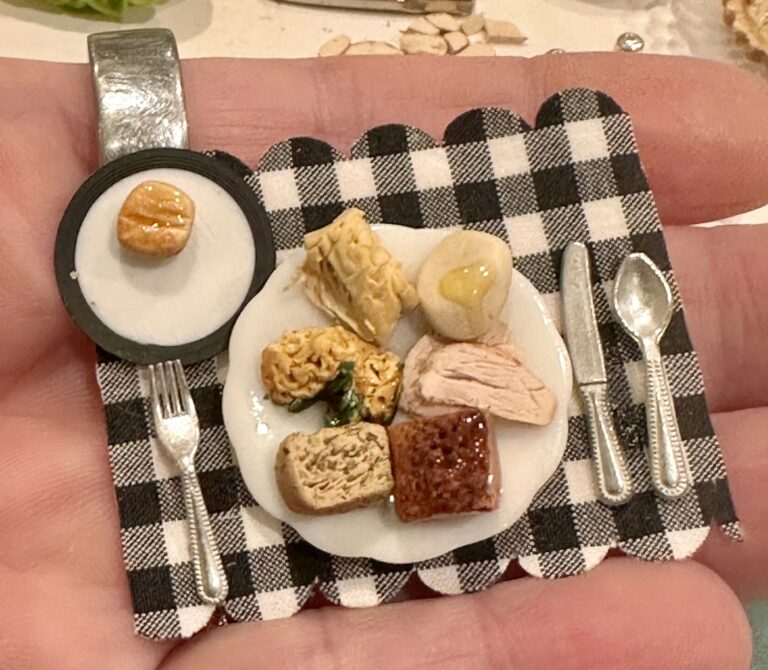
With the potatoes finished, I had both a serving bowl and individual portions ready for my Thanksgiving dinner display.
The bowl makes a nice centerpiece for the food arrangement, while the smaller servings help make the individual place settings feel more complete.
It’s amazing how these little finishing touches bring a miniature meal together!
What I’d Do Differently Next Time
One of the things I enjoy about making miniatures is that there’s always something new to learn.
Although I’m pleased with how the butter turned out, I think the potatoes themselves could be improved. The polymer clay held its shape nicely, but the finished potatoes look a little too firm. Real mashed potatoes should look soft, light, and fluffy.
Next time, I’d experiment with air-dry clay instead of polymer clay.
I’d like to try creating more uneven peaks, soft folds, and a slightly rougher surface that better captures the texture of freshly mashed potatoes. I’d still use the little polymer clay butter pats and transparent yellow UV resin, though. That combination worked well!
Sometimes the best part of a miniature project is discovering what you’ll do differently the next time.
Building Our Miniature Thanksgiving Dinner
Our little Thanksgiving feast is coming together, one dish at a time!
If you’re following along with the series, be sure to check out the earlier projects:
- Realistic Miniature Thanksgiving Turkey — 3D Printing and Painting
- Miniature Turkey Slices — Working with Polymer Clay
Whether you’re creating a complete dollhouse Thanksgiving dinner or just making a few miniature foods for fun, I hope these projects inspire you to experiment with your own techniques.
Happy mini-making!